How to Clean Your Dog‘s Ears Without a Vet (Step-by-Step)
Hi seekers! The truth is, most dogs don‘t actually need their ears cleaned regularly. In fact, unnecessary cleaning can do more harm than good. However,

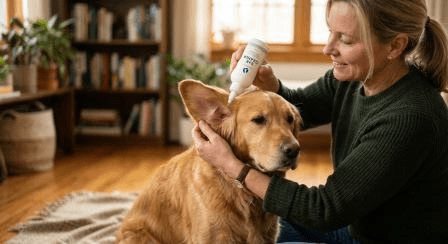
Hi seekers! The truth is, most dogs don‘t actually need their ears cleaned regularly. In fact, unnecessary cleaning can do more harm than good. However, if your vet has recommended regular cleanings—or if you notice your dog‘s ears are visibly dirty, have a mild odor, or your dog is shaking their head more than usual—it’s time to step in.
Before you start, always check for signs of infection. If the ear looks red, inflamed, smells pungent, or seems painful, do not clean it—contact your vet immediately. Cleaning an infected ear can make things worse.
Gather these supplies before you begin:
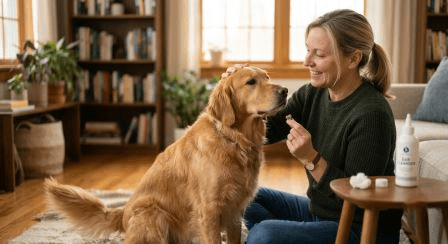
Choose a quiet, familiar space where your dog feels safe.
If your dog is nervous, go slowly. Start by gently touching their head and ears, rewarding them with treats, and building up to the cleaning process over several sessions if needed.
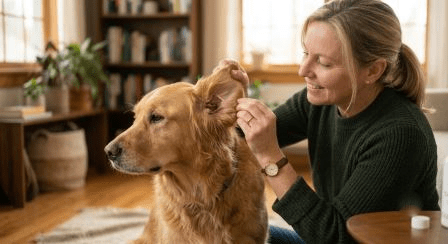
Gently lift your dog‘s ear flap and take a good look inside.
✅ What’s normal: Light pink, odorless, with little to no visible dirt or wax.
🚨 Red flags (stop and call your vet):
If you see any of these, do not clean the ears—your dog needs a vet.
Hold the ear flap gently but firmly, pulling it straight up to straighten the ear canal.
Insert the nozzle of the cleaner bottle into the entrance of the ear canal (no deeper than the opening). Squeeze enough solution to fill the ear canal. It‘s fine if some spills out.
Important: Do not put the tip of the bottle deep into the ear.
Continue holding the ear flap up with one hand. With your other hand, gently massage the base of the ear (below the ear opening) for about 30 seconds.
You should hear a squishing sound—that‘s the solution breaking up wax and debris deep in the ear canal.
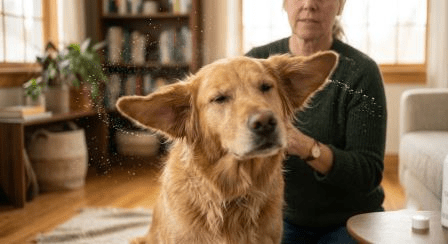
Release the ear and step back—your dog will shake their head vigorously. This is a good thing! The shaking helps bring dissolved debris and excess solution up and out of the ear canal.
Use a towel to protect yourself and your surroundings from flying liquid.
Use a cotton ball or gauze pad to gently wipe away any dirt, wax, or excess solution from the inner ear flap and the upper part of the ear canal you can see.
Never insert anything into the ear canal itself. Only wipe what you can see.
Follow the same process for the other ear—even if it looks clean, it‘s good practice to do both.
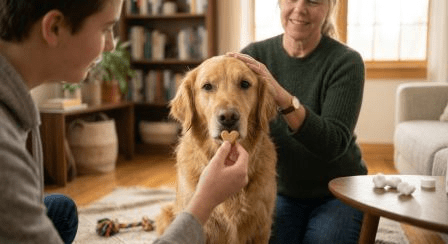
Give your dog plenty of treats and praise! This builds a positive association with ear cleaning and makes future sessions easier.
There‘s no one-size-fits-all answer. Some dogs may never need their ears cleaned. Others—especially breeds with long, floppy ears like Basset Hounds and Cocker Spaniels—may need more frequent cleanings.
Rule of thumb: Check your dog‘s ears weekly. Clean only when they look dirty, have a mild odor, or your vet recommends it. Over-cleaning can irritate the ear canal and actually cause infections.
Stop cleaning and contact your vet immediately if:
Ear infections will not resolve on their own and can get worse quickly.
Some sources suggest homemade solutions like equal parts white vinegar and water. However, always check with your vet before using any homemade solution. What works for one dog may irritate another, and if there‘s an infection, you could make it worse.
Safer approach: Use a sterile saline solution if you‘re in a pinch, but ideally, stick with a vet-approved commercial ear cleaner.
| Step | Action |
|---|---|
| 1 | Position your dog comfortably |
| 2 | Examine the ear—if red/smelly/painful, call the vet |
| 3 | Fill the ear canal with cleaner |
| 4 | Massage the base of the ear for 30 seconds |
| 5 | Let your dog shake |
| 6 | Wipe visible debris with a cotton ball |
| 7 | Repeat on the other ear |
| 8 | Reward with treats! |
Disclaimer: This guide is for educational purposes only.